
How to Create a Landing Page Using Unbounce
 Learn how YOU can build a landing page quicker than your developer — no coding skills required.

Building a campaign landing page can be frustrating and time-consuming, but it doesn’t have to be. With Unbounce you can make a beautiful landing page in an afternoon and launch it before you leave the office.
Make and launch a landing page in 7 simple steps.
1. Choose a template OR start from a blank page.
Build your landing page from a template.
Whether you want to create landing pages quickly or need design inspiration, starting with a template is the simplest option. Watch the video to learn how to:
- Choose a template based on your industry, campaign or conversion goal (lead generation or click-through)
- Add or remove elements on the page
- Switch out images and text
- Adjust any colors or fonts to match your brand’s look and feel
Build your landing page from a blank page.
For maximum flexibility and a more sophisticated page layout, create your landing page from a blank canvas. Watch the video to learn how to:
- Add new page sections as needed
- Drag, drop and position your page elements (text, logo, images, boxes, forms, videos)
- Add any colors or fonts to match your brand’s look and feel
- Set up your lead capture form or call to action button
2. Adjust your mobile landing page layout.
With Unbounce it’s easy to create mobile versions of your page. Once you’ve built your desktop page, simply enable your mobile view and tweak page elements as needed.
With Unbounce it’s easy to create mobile versions of your page. Once you’ve built your desktop page, simply enable your mobile view and tweak page elements as needed.
Pro tips:

- Use Unbounce’s Layout Assistant tool — it will get your mobile page 80% publish-ready
- Adjust the remaining page elements and resize your text to the appropriate size
- Hide the page elements you don’t want to display on mobile
- Use Unbounce’s Layout Assistant tool — it will get your mobile page 80% publish-ready
- Adjust the remaining page elements and resize your text to the appropriate size
- Hide the page elements you don’t want to display on mobile

3. Configure your landing page settings.

Adjust your SEO settings.
Select whether or not you want your page to be visible to search engines and optimize it by writing a keyword-focused page title and meta description.

Adjust your SEO settings.
Select whether or not you want your page to be visible to search engines and optimize it by writing a keyword-focused page title and meta description.
 Set up your form’s ‘Thank You’ page.

Extend the interaction with your converted prospects with customizable confirmation pages: offer a value add, or simply say, “Thank you!”
 Set a conversion goal to track your success.

Before you publish your page, set which action you would like to track as a conversion.
Here’s how to launch your page:
4. Set your landing page URL.
 Publish your landing page to the domain of your choice and customize the URL to your liking.
5. Add tracking and custom scripts.
 Script Manager allows you to instantly embed scripts like Google Analytics, AdWords or any other custom code to multiple landing pages at once.
6. Integrate with your marketing tool set.
 Pass leads from Unbounce to your marketing automation and CRM tools by setting up one or more integrations (e.g. HubSpot or Salesforce).
7. Preview and publish.
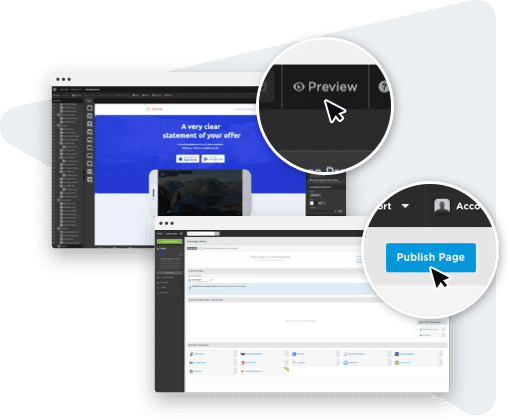 Preview your desktop and mobile pages and hit publish. If using WordPress, simply install our plugin — no DNS record or CNAME setup required.
Get the most out of your landing pages.
Our customers use these popular features to take their campaigns to the next level (and you can too!)
 Duplicate your landing pages with one click.

Once you’ve created your first landing page, the heavy lifting is done. Scale up production by duplicating your page and making adjustments tailored to your campaigns.
Credit: unbounce.com
How to Create a Landing Page Using Unbounce
 Reviewed by webmission
on
13:00
Rating:
Reviewed by webmission
on
13:00
Rating:
Reviewed by webmission
on
13:00
Rating:


No comments:
Post a Comment